Blogging rituals.
Over the last few weeks, I’ve had a bit more time to work on my blog and have discovered that I’m a reclusive blogging creature of routine and ritual. I can’t write unless I’m at my desk, and it’s the morning.
Take today as an example. Woke at 6.15am, showered, then started writing on the laptop in the bedroom. I managed to write a depressing rant about the ‘dark side of the blog’. It wasn’t enjoyable to write and doubtfully entertaining to read (and we never will, because I’ve deleted it). I had breakfast, made a coffee, moved to my desk and then, suddenly, a peace and clarity fell upon me. I had found a little space in my world where something positive can happen.
And as for afternoons, they are utterly useless, full of distraction and anxiety. After lunch, I might as well just stick my feet up on the sofa and fall asleep. If I can summon up some motivation, I might manage some admin, paperwork and research. But if I try to write, I know I’ll end up re-writing the same sentence over and over again, re-typing then deleting. Re-typing then deleting. I’ve stopped trying, that’s how bad it is. But the creativity creeps back in once I’ve had dinner and get to the evening; perhaps I just need to move to Spain, or at the very least, adopt a Spanish lifestyle.
Homemade yoghurt rituals.
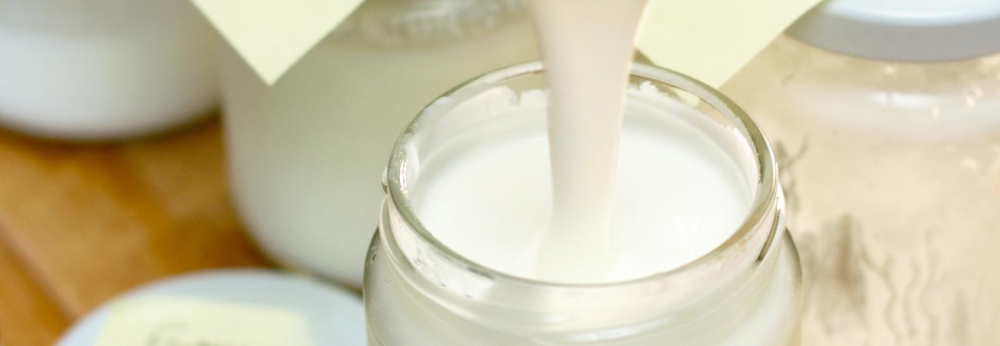
So what am I going to do this afternoon to tease myself from the creative slumber? Get in the kitchen. And one of the things I’m going to make this afternoon, aside from the super-secret and exciting, upcoming blog post recipe development stuff, is homemade yoghurt.
Only recently did I discover what a spectacularly simple process making homemade yoghurt is, and how much of a saving you can make by home producing it. When I found out that all you need is milk and some live yoghurt to start it with, hahahahahaha, aaaahhh, hahaha, aahhh, how I laughed. It’s that simple. I always assumed there was some complicated process that justified the fact that yoghurt is considerably more expensive than milk, but nope, there’s not. It’s just milk that you’ve kept warm for a while.
Yoghurt making techniques.
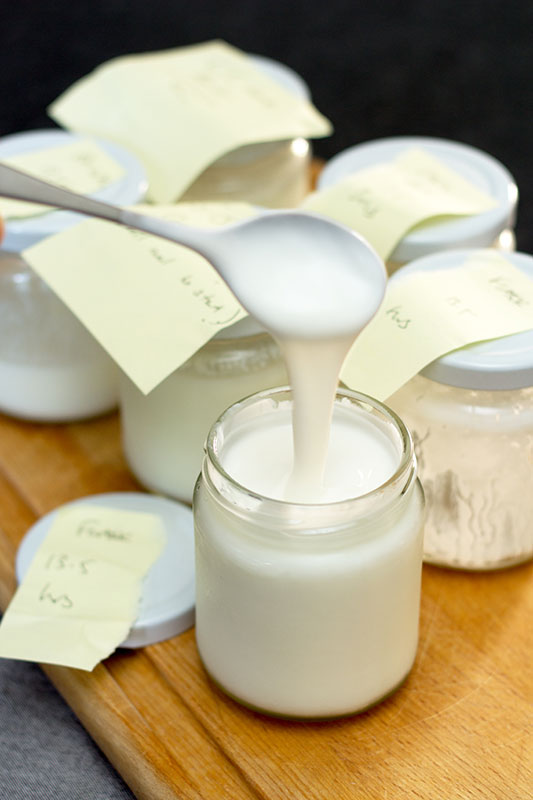
So prior to my first batch, I researched a how to make homemade yoghurt without a yoghurt maker. I found varying options, so I tried three of them for your blogging perusal, to find out which one was the easiest and best way to make homemade yoghurt. Most of them didn’t work very well and I learned some important information along the way. But there was one, sure-fire winner of a method, which I’m showing you here.
How to make yoghurt
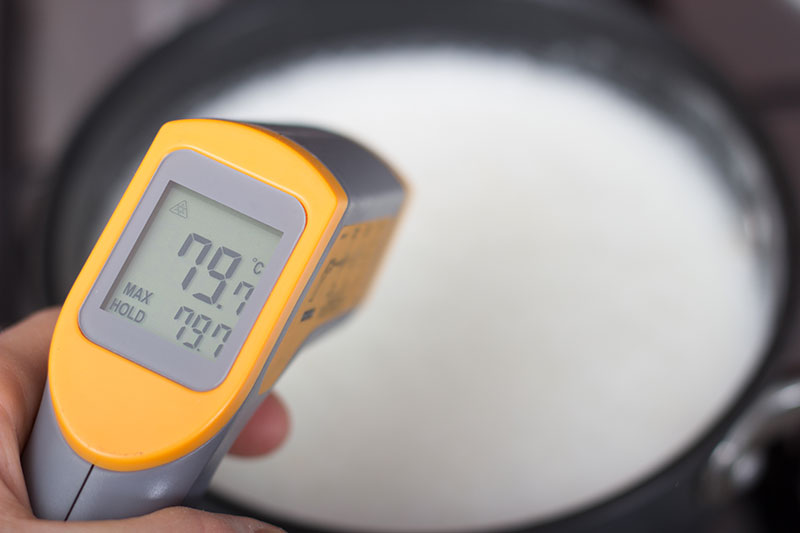
To make yoghurt at home, the most important part of the process is keeping the milk warm for 6-18 hours to allow the ‘friendly’ bacteria to develop. Keeping it at the correct temperature, around 35 – 45ºC or 95 – 113ºF is the make or break part of the process. So I’ve done a little run-down of the other methods I tried, so that you are aware of them and their pros and cons.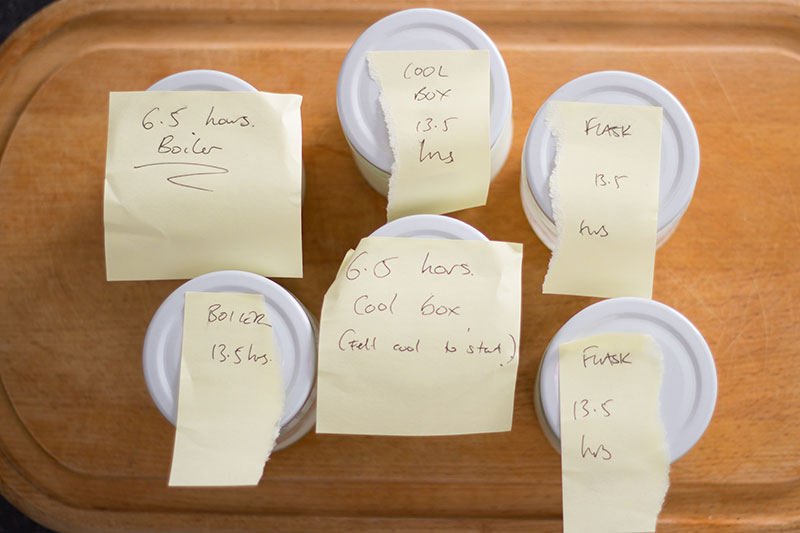
FYI, this all relates to my experience as someone who lives in London and made the yoghurt in mid March, with a daytime outdoor temperature of around 10ºC/50ºF and overnight of about 2ºC/35ºF. At this time of year we have the heating on from about 5am to 9pm if we’re here in the day. Your experiences may differ – it’s much easier to make if you live in a hot country.
Method 1 – The cool box or ice box technique.
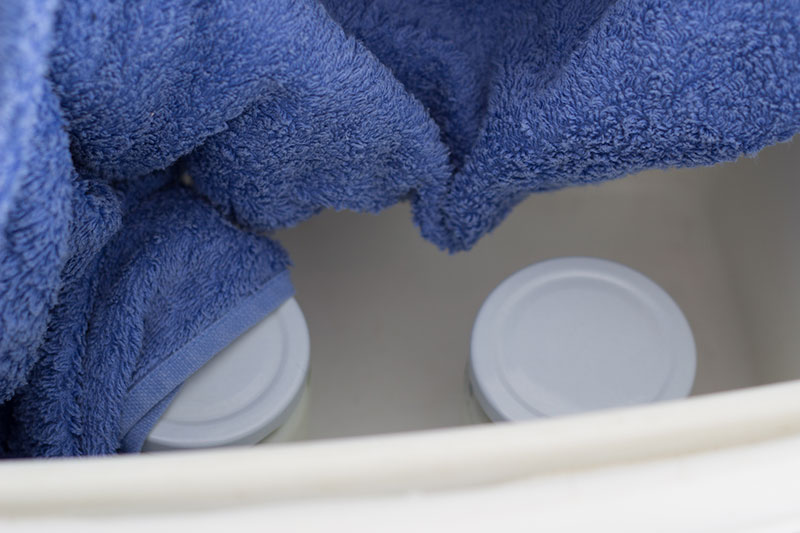
I heated up a cool box by leaving boiling water in it for 15 minutes with the lid on prior to use. I removed the water, wrapped the jars of yoghurt in a towel and placed them in the cool box with the lid on and left it on top of the fridge. Samples were tested at 6.5 hours and 13.5 hours, yet both were still runny and hadn’t retained any heat. May work well in warmer climates. Tasting notes: Runny yoghurt, no flavour.
Method 2 – The airing cupboard or boiler room technique.
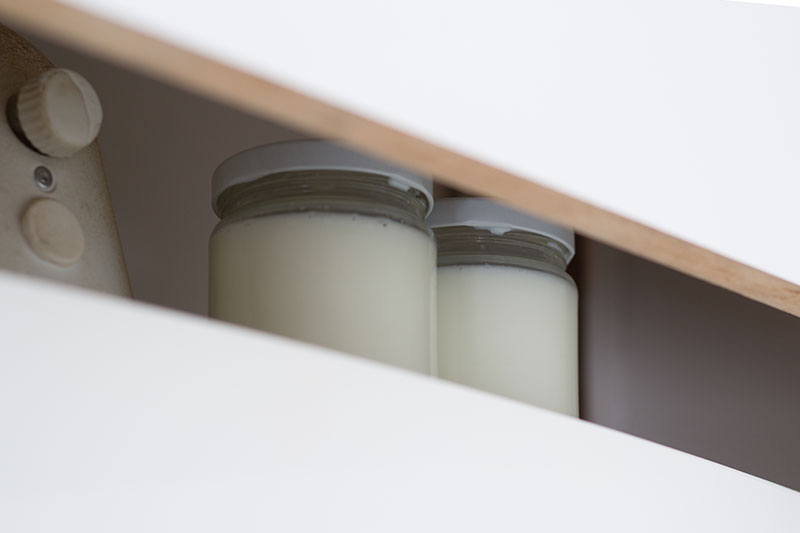
This one was very simple. I just put the jars of yoghurt on top of our boiler to incubate, with the cupboard door closed. No faffing around or extra equipment required. It achieved a slightly thicker yoghurt with a bit more flavour than the cool box. Not amazing, although might produce better results if you have particularly warm airing cupboard you can use. Tasting notes: Runny/very lightly set yoghurt, beginning to develop yoghurt taste.
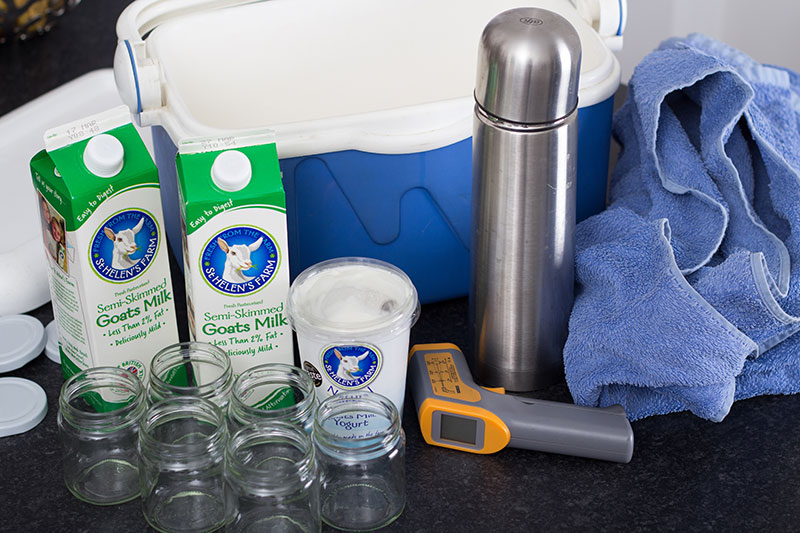
Method 3 – The vacuum flask or Thermos technique.
I heated a vacuum flask with boiling water for 15 minutes, then sealed the incubating yoghurt in it. This worked really well, the end result was a good homemade yoghurt with a decent consistency and flavour. I was using goat milk and found the longer it was left, the better, eventually settling on 18 hours. Any less and it doesn’t seem to produce the consistency and flavour that I like. Tasting notes: Yoghurty zing and relatively thick consistency.

How NOT to make homemade yoghurt
If you don’t heat the milk accurately when making yoghurt, you can end up with either a grainy, tangy yoghurt, or a slimy, stringy, gooey yoghurt, which isn’t very nice to eat. Grainy results are because you have OVER cooked the milk at first. Slimy yoghurt is because you have UNDER heated it. Personally, I don’t mind grainy yoghurt, but yucky, slimy yoghurt is a definite no-go, so I now allow the milk to run safely over 85ºC before taking it off the heat.Also, you will find varying suggestions on the internet for the amount of live yoghurt to ‘start’ your batch with. I start from a baseline of 3 tablespoons per 500ml of milk, if you use noticeably less, your yoghurt might end up being thin, so I always lean towards adding slightly more.
Homemade Yoghurt with Goat’s, Cow’s or Soy milk
By Gavin Wren
Makes about 500ml
Uses 1 pot
PDF recipe card to download or print
Ingredients
500ml milk (You can use cows, goats, even soya)
3 tablespoons live yoghurt (you can use yoghurt from your previous home made batch)
Optional extra:
You can add 25g dried milk powder at the start to help make a thicker yoghurt. I have omitted it here, but you can mix it in prior to heating.
Equipment:
A vacuum flask or Thermos.
Jar or plastic container for storage
Food thermometer, or one like this: Non-Contact LCD Infrared Digital Thermometer (affiliate links)
Directions
Half fill your vacuum flask with boiling water and then top it up with tap water and leave to one side.
Heat your milk in an uncovered saucepan to at least 85ºC, 185ºF. Remove from the heat and allow to cool to 46ºC, 115ºF. When cooled to this temperature, stir in 3 tablespoons of yoghurt and gently mix it all together until combined. Empty the water from the Thermos and transfer the milk mixture into it, then tightly secure the lid and leave out of the way in a warm place for 6-18 hours (I recommend aiming for 18 hours).
The length of time determines the tanginess and thickness of your yoghurt. I have been working with goat’s milk which produces a runnier yoghurt than cow’s milk. I incubate goat’s milk for 18 hours and it produces a zingy, medium-thickness yoghurt.
If you are going to store in jars, clean them really well and then put in the oven for 15 minutes on gas mark 1, 135ºC, 175ºF to sterilise.
Transfer your finished yoghurt from the vacuum flask to your storage pots and store in the fridge. As with normal yoghurt, the best way to tell if the yoghurt is still good to eat is to use your eyes and nose; if it looks OK and smells like yoghurt, then it’s normally fine to eat.
Adapted from a recipe by Phil Daoust on www.theguardian.com